Handling
Handling a Cappuccino Stencil
Handling of a cappuccino stencil is very easy. Everybody will be able to produce professional results after a very short practicing period.
Handling Step 1
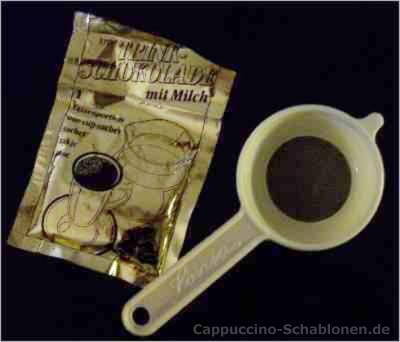
It is necessary to work with a fine-meshed sieve as possible and drinking chocolate as an attachment for the frothed milk.
Handling Step 2
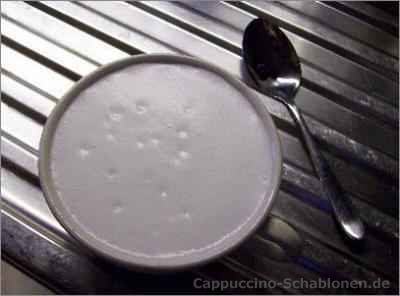
The frothed milk will be placed on the cappuccino, larger bubbles can be punctured with a spoon. It is very important that the milk foam extends up to the edge of the cup.
Handling Step 3
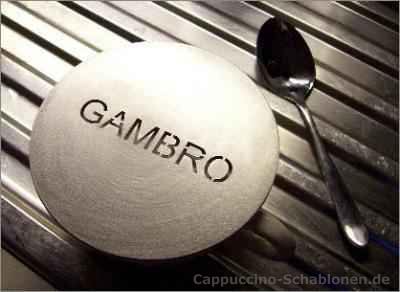
Now, the cappuccino stencil is placed on the rim of the cup . In the same supernatants round the cup edge to ensure that the subject or in this case the word is placed in the center of the milk foam.
Handling Step 4
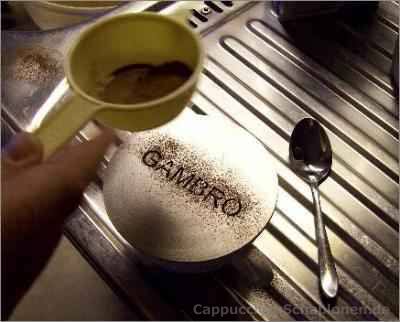
Through the fine-meshed sieve, the powder of the drinking chocolate is dispersed at a distance of about 5 cm above the cappuccino stencil. It is important that the individual grains of hot chocolate falling vertically through the stencil.
Repeated scattering can enhance the intensity of the writing.
Handling Step 5
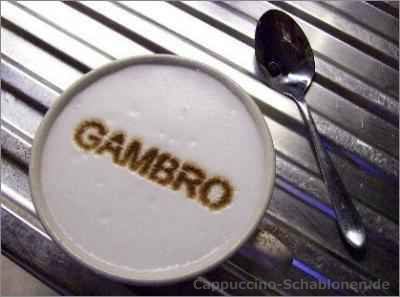
After removing the stencil the logo is clearly visible on the cappuccino. In this way is often provided at trade shows or in customer meetings for a little highlight.
Handling Step 6
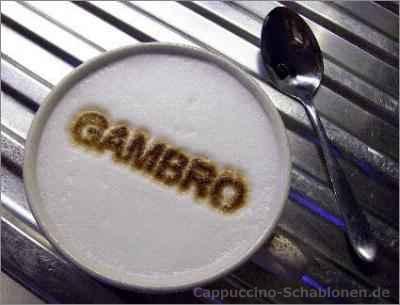
Even after 3 minutes, the writing on the frothed milk is still clearly visible.
Now it's really time to enjoy your result!